Upload your Website Files
Once you have your website files ready, you can upload them to Creatpad. You can upload your website files in two ways.
- Upload a ZIP file containing your website files.
- Upload individual files.
Creating a new account
First, you need to create an account on Creatpad. You can signup for an account using either your email address or your Google account.
Create a new site
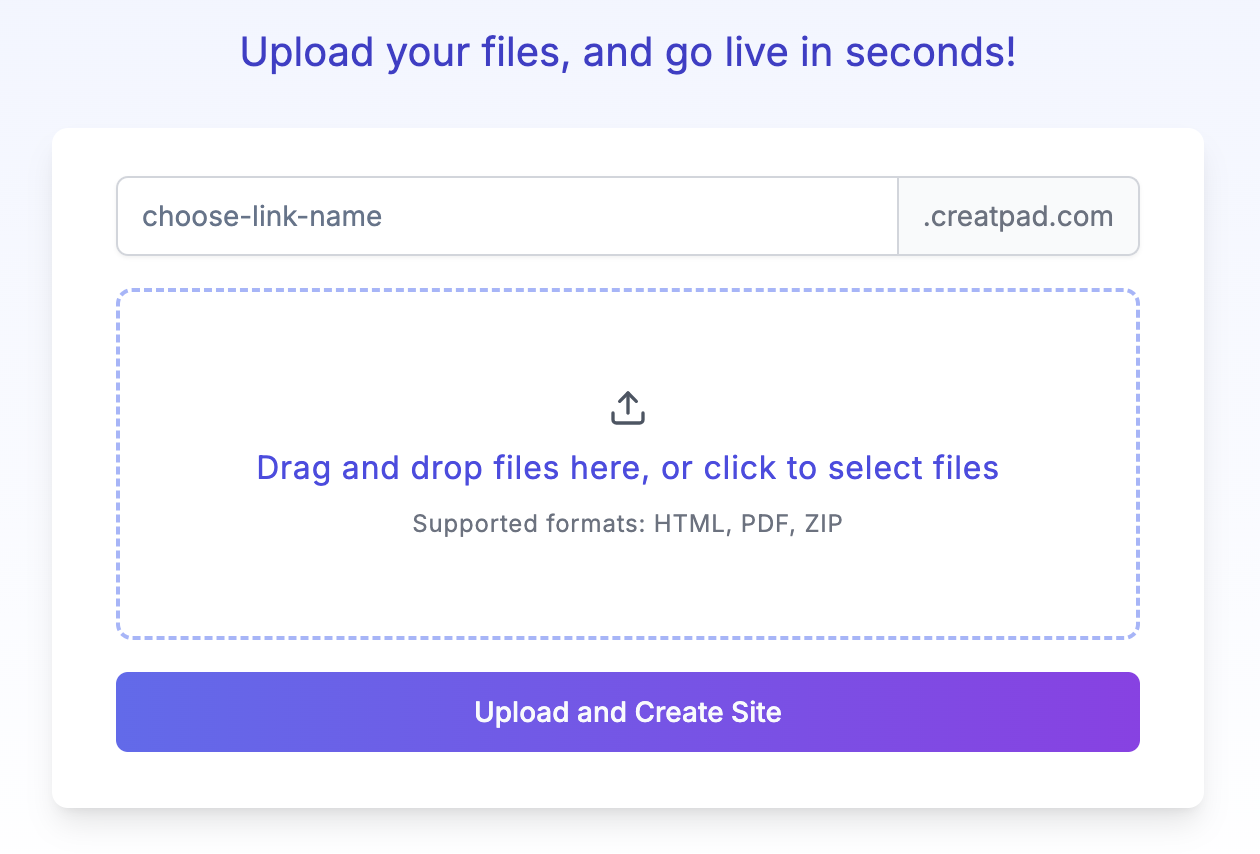
Once you have an account, you can create a new site. You can do this by clicking on the "Create New Site" button on the dashboard. Clicking this button will open an Upload widget where you can upload your website files.

Providing a link name
The widget asks you to provide a link name, which will determine your website's URL, such as myportfolio.creatpad.com. If you don't provide a link name at this stage, Creatpad will assign a random name that you can change later.
Uploading your files
You have two options for uploading your files:
-
Upload a ZIP file: If you have a more complex static website project containing multiple file types (HTML, JS, CSS, images, videos, etc.), create a ZIP file of your entire project and upload it.
-
Upload individual files: For simpler projects, you can directly drag and drop your HTML or PDF files into the upload widget.
Important Note
Before uploading your files, consider the following:
- For individual file uploads:
- If you include an
index.htmlfile, it will automatically serve as your homepage.- If you upload multiple HTML files but none are named
index.html, you'll be prompted to choose which file should be used as the homepage.- For ZIP file uploads:
- Ensure your project contains at least one file named
index.htmlin the root directory to serve as the homepage.
Choose the method that best suits your project's complexity and structure.